
This manual provides a general guide for staff to understand and operate the e-commerce site, both from the customer’s perspective (front-end) and the administrative perspective (back-end).
Staff Training Manual – Clique E-Commerce Site
1. Front-End (Customer View)
Browsing & Shopping
- Customers access the homepage to view featured products and categories.
- Customers click on the Product in the menu to open up product categories and then products.
- Navigation menus and search allow quick product discovery.
Product Pages
- Each product displays images, description, (price – to be added soon), and variations (if any).
- Customers can add products to the shopping cart.
Cart & Checkout
- Cart shows selected items, prices, and totals.
- Customers proceed to checkout, enter details, choose shipping and payment, then confirm the order.
- After checkout, customers receive an order confirmation email.
2. Back-End (Staff/Admin View)
Product & WooCommerce Management
This section covers all essential tasks for managing products, orders, customers, and store settings in WooCommerce. It is designed for store managers and administrators responsible for maintaining the product catalog and processing sales.
Orders
- Access the Orders section in the dash-board.(Coming Soon)
- Check new orders, confirm payment, update order status (Pending → Processing → Shipped → Completed).
- Handle cancellations, refunds, or changes as needed.
Products & Inventory
- Use the Products section to add, edit, or remove items.
- Update stock levels regularly to avoid overselling.
- Ensure product details and images are accurate.
Customers
- View customer accounts and order history.
- Support customers with issues (failed payments, wrong details, etc.).
Reports
- Monitor sales, inventory, and customer behaviour through analytics.
- Use data to plan promotions and restocking.
Settings & Maintenance
- Configure payment gateways and shipping options.
- Apply site updates and security checks.
Ensure regular data backups.
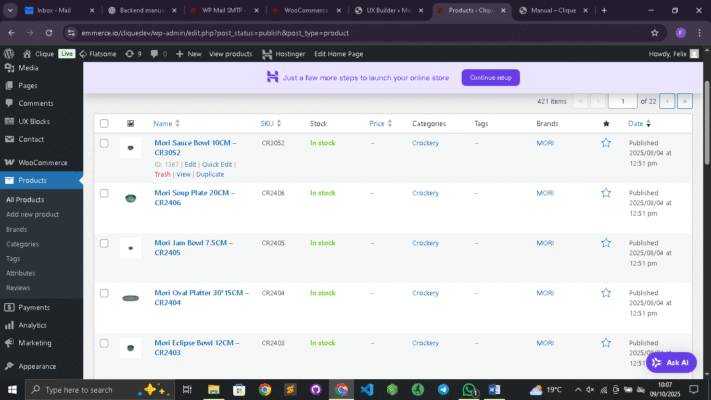
1. Adding, Editing, and Deleting Products
Accessing the Product Section
- Log in to your WordPress Dashboard.
- In the left-hand menu, click Products → All Products.
- Here you can view, search, and manage all existing products.
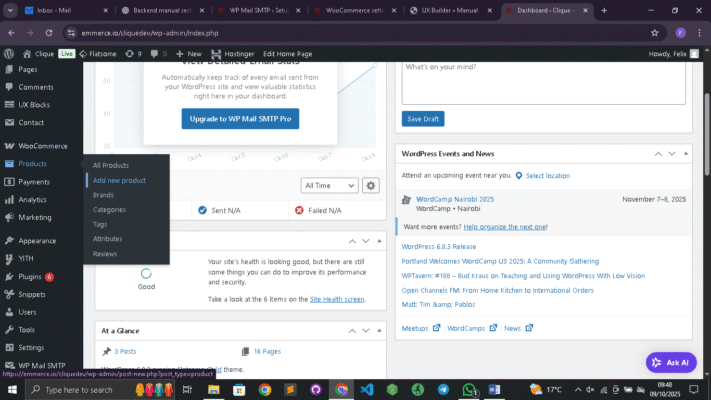
A. Adding a New Product
- Go to Products → Add New.
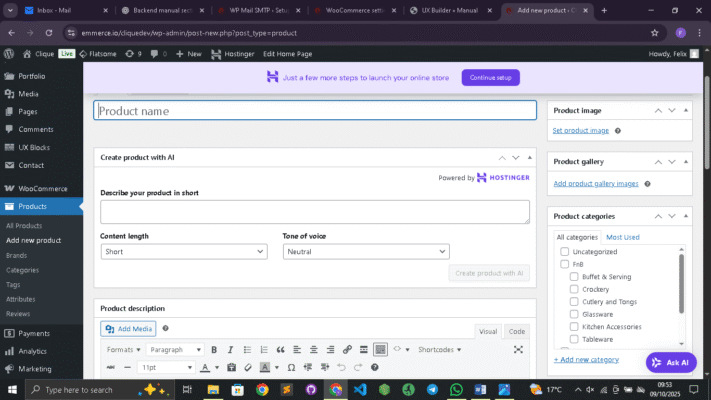
- Enter the Product Name at the top.
- In the main text editor, write a detailed product description (features, specifications, usage, etc.).
- Scroll down to the Product Data panel — this is where you configure:
- Product Type (Simple, Variable, Grouped, External).
- Regular Price and Sale Price.
- Inventory (Stock status, SKU, quantity).
- Shipping (weight, dimensions, shipping class).
- Linked Products (upsells, cross-sells).
- Attributes (e.g., size, color for variations).
- Advanced Options (purchase notes, menu order).
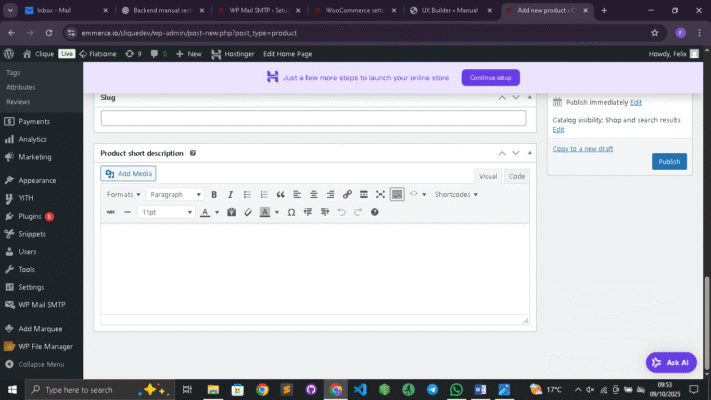
- Add a Short Description (appears near the product title on the front end).
- Set a Product Category and Tags on the right sidebar.
- Upload a Featured Image (main product image).
- Add Gallery Images (additional views or details).
- Click Publish.
B. Editing an Existing Product
- Navigate to Products → All Products.
- Hover over the product name and click Edit.
- Make necessary changes (price, description, category, etc.).
- Click Update to save.
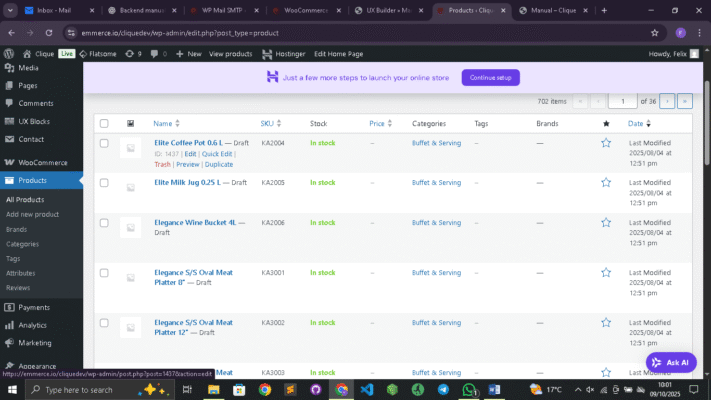
C. Deleting a Product
- Go to Products → All Products.
- Hover over the product and click Trash.
- To permanently delete, open the Trash tab and click Delete Permanently.
2. Product Categories and Tags
This is a simple headline
Lorem ipsum dolor sit amet, consectetuer adipiscing elit, sed diam nonummy nibh euismod tincidunt ut laoreet dolore magna aliquam erat volutpat.
Upload Image...
